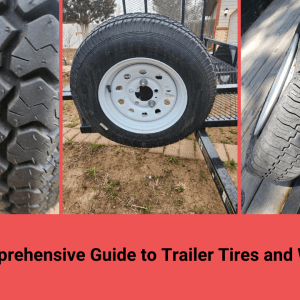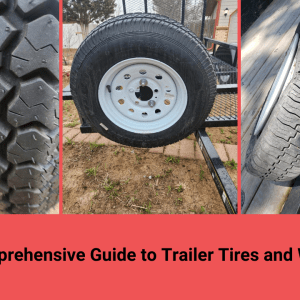
Dismounting a Budd wheel and tire can seem daunting, especially given their size and weight, but with the right tools and a methodical approach, it’s a manageable task. Understanding the inherent risks associated with these heavy-duty components is crucial for safety. Proper safety procedures are paramount to avoid potential injuries. This guide will provide a step-by-step process for safely and effectively dismounting a Budd wheel and tire.
Safety First: Essential Precautions
- Wear appropriate safety gear: This includes safety glasses, gloves, and steel-toed boots.
- Work in a well-lit and ventilated area: This ensures clear visibility and reduces the risk of inhaling harmful fumes.
- Use the correct tools: Using the wrong tools can damage the wheel and tire, and increase the risk of injury.
- Never stand directly in front of the tire during inflation or deflation: A tire blowout can cause serious injury or death.
Step-by-Step Guide to Dismounting a Budd Wheel and Tire
Step 1: Prepare the Wheel and Tire
Before beginning the dismounting process, ensure the vehicle is properly secured with wheel chocks and the parking brake is engaged. Locate the valve stem and remove the valve core using a valve core removal tool. Completely deflate the tire. This is a critical step to prevent sudden and forceful separation of the tire from the wheel. Double-check that all air has been released before proceeding.
Step 2: Loosening the Lug Nuts
Using a breaker bar and the correct socket size, loosen the lug nuts. Important: Do not remove them completely at this stage. Just break them free from their initial tightness. Working in a star pattern will ensure even pressure distribution and prevent warping of the wheel.
Step 3: Lifting the Wheel
Carefully lift the wheel and tire assembly. A floor jack or a hydraulic lift can be used for this purpose. Position the jack securely under the axle or frame. Raise the vehicle until the wheel is completely off the ground. Place jack stands under the axle or frame for added safety. Never work under a vehicle supported only by a jack.
Step 4: Removing the Lug Nuts and Wheel
Now, completely remove the loosened lug nuts. With the lug nuts removed, carefully pull the Budd wheel and tire assembly away from the vehicle. Be prepared for its weight; it may require assistance. Set the wheel down in a safe and stable location;
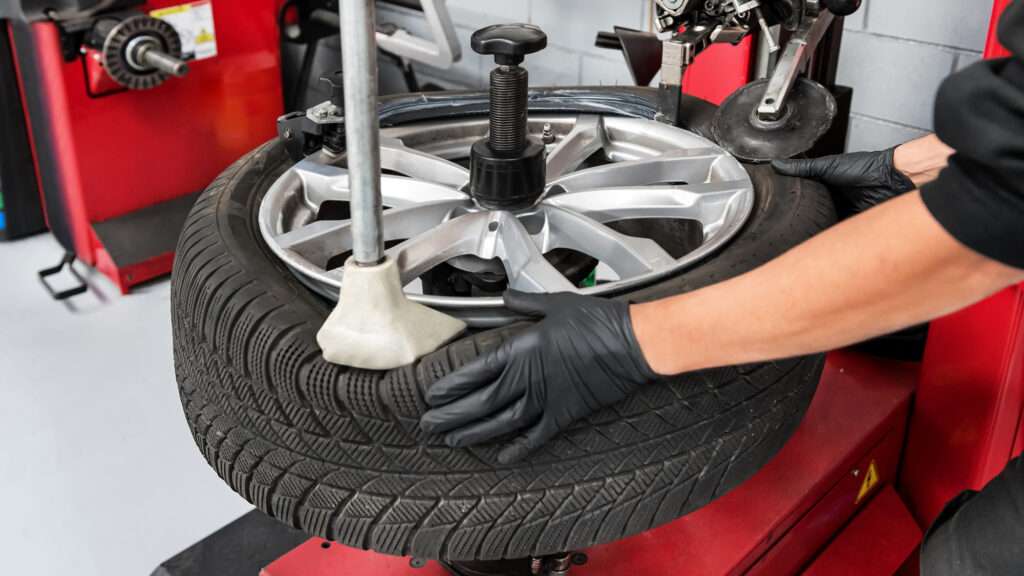
Step 5: Separating the Tire from the Rim
This step requires specialized tools and techniques. It’s generally recommended to have a professional tire technician perform this task, as improper techniques can damage the tire or rim, or cause serious injury. However, if you are experienced and have the necessary equipment (such as a tire changing machine), proceed with caution, following the manufacturer’s instructions for the equipment.
Considerations for Reassembly
Before reassembling, inspect the rim and tire for any damage. Clean the mating surfaces of the wheel and hub. When reinstalling the lug nuts, tighten them to the manufacturer’s specified torque using a torque wrench. Improperly torqued lug nuts can lead to wheel detachment. Remember, a properly dismounted and reassembled Budd wheel and tire ensures vehicle safety and performance.
FINAL CHECKS AND MAINTENANCE
After reassembly, it is crucial to perform a final check to ensure everything is secure and properly aligned. Double-check the torque of the lug nuts after driving a short distance (approximately 50-100 miles) as they can sometimes loosen slightly during initial use. This retorquing is a vital safety precaution.
REGULAR INSPECTION IS KEY
– Tire Pressure: Regularly check and maintain the correct tire pressure as specified by the vehicle manufacturer. This ensures optimal tire wear, fuel efficiency, and handling.
– Tire Condition: Inspect tires for signs of wear and tear, such as cuts, bulges, or uneven tread wear. Replace tires as needed to maintain safe driving conditions.
– Wheel Condition: Periodically inspect the wheels for signs of damage, such as cracks or bends. Damaged wheels can compromise safety and performance.
– Lug Nut Condition: Check lug nuts for rust or damage. Replace any damaged lug nuts immediately.
WHEN TO SEEK PROFESSIONAL HELP
While this guide provides a comprehensive overview of how to dismount a Budd wheel and tire, there are situations where seeking professional help is highly advisable. If you are not comfortable performing any of the steps outlined above, or if you lack the necessary tools or experience, it is best to consult a qualified mechanic or tire technician. Attempting to perform these tasks without the proper knowledge or equipment can result in serious injury or damage to your vehicle.
Specifically, consider professional assistance in the following scenarios:
– If you encounter difficulty removing the wheel from the hub. Excessive rust or corrosion can make removal challenging and potentially dangerous.
– If you notice any signs of damage to the wheel or tire. Professional assessment is needed to determine if the damage is repairable or if replacement is necessary.
– If you are unsure about the correct torque specifications for your vehicle. Overtightening or undertightening lug nuts can have serious consequences.
Remember, safety is paramount when working with heavy machinery and automotive components. If you are ever in doubt, err on the side of caution and seek professional assistance. The longevity and safe operation of your vehicle depend on proper maintenance and repair, and sometimes, that means entrusting the work to experienced professionals. Therefore, regularly check all parts of the wheel after dismounting the Budd wheel and tire.
Beyond these immediate post-reassembly checks, adopting a proactive maintenance schedule is crucial for the long-term health of your Budd wheel and tire assemblies. Consider the operating environment and the typical loads the vehicle carries when determining the frequency of inspections. Vehicles subjected to harsh conditions, such as off-road use or heavy hauling, will require more frequent attention.
DEVELOPING A PREVENTATIVE MAINTENANCE PLAN
– Regular Visual Inspections: Train your eye to spot early warning signs. Look for anything unusual, such as bulges in the tire sidewall, excessive rust around the lug nuts, or signs of vibration while driving.
– Torque Checks: Even if you’ve retorqued the lug nuts after the initial drive, schedule periodic torque checks as part of your routine maintenance. Temperature fluctuations and vibrations can cause slight loosening over time.
– Tire Pressure Monitoring: Invest in a reliable tire pressure gauge and check the pressure regularly, ideally before each journey. Maintaining the correct pressure not only extends tire life but also improves fuel efficiency and handling.
– Wheel Balance: Imbalances in the wheel and tire assembly can lead to vibrations and premature wear. If you notice excessive vibration, have the wheels professionally balanced.
TROUBLESHOOTING COMMON ISSUES
Even with diligent maintenance, issues can arise; Here are some common problems and how to address them:
VIBRATIONS
Vibrations can stem from several sources, including unbalanced wheels, tire damage, or loose lug nuts. Start by checking the lug nut torque and tire pressure. If the vibrations persist, have the wheels balanced. If the vibrations are severe or accompanied by other symptoms, consult a mechanic to rule out more serious issues, such as suspension problems.
UNEVEN TIRE WEAR
Uneven tire wear can indicate a variety of problems, including misalignment, improper inflation, or worn suspension components. A visual inspection of the tire tread can often reveal the cause. If the wear is concentrated on one side of the tire, the vehicle may need an alignment. If the wear is in the center of the tire, the tire may be overinflated. If the wear is on both edges of the tire, the tire may be underinflated. Consult a mechanic to diagnose and address any underlying suspension issues.
AIR LEAKS
Air leaks can be caused by damaged valve stems, punctures in the tire, or leaks around the wheel seal. Inspect the valve stem for damage and replace it if necessary. If you suspect a puncture, check the tire for nails, screws, or other debris. If you find a puncture, have the tire professionally repaired or replaced. If you suspect a leak around the wheel seal, consult a mechanic to have the seal inspected and replaced.
By following these preventative maintenance tips and troubleshooting guidelines, you can help ensure the safe and reliable operation of your Budd wheel and tire assemblies for years to come. Remember, proactive maintenance is always more cost-effective than reactive repairs. Take the time to inspect your wheels and tires regularly, and address any issues promptly. This will not only save you money in the long run but also help keep you and others safe on the road.