Revamping your car’s interior doesn’t require a brand new vehicle․ Refreshing the upholstery can significantly improve the look and feel of your ride, making your daily commute or road trips more enjoyable․ Learning how to **reupholster your car interior** can save you a considerable amount of money compared to professional services while allowing you to customize your vehicle to perfectly match your personal style․ The process, while requiring patience and attention to detail, is achievable for most DIY enthusiasts willing to invest the time and effort․ So, let’s delve into the world of automotive upholstery and discover how to **reupholster your car interior** with confidence․
Gathering Your Tools and Materials
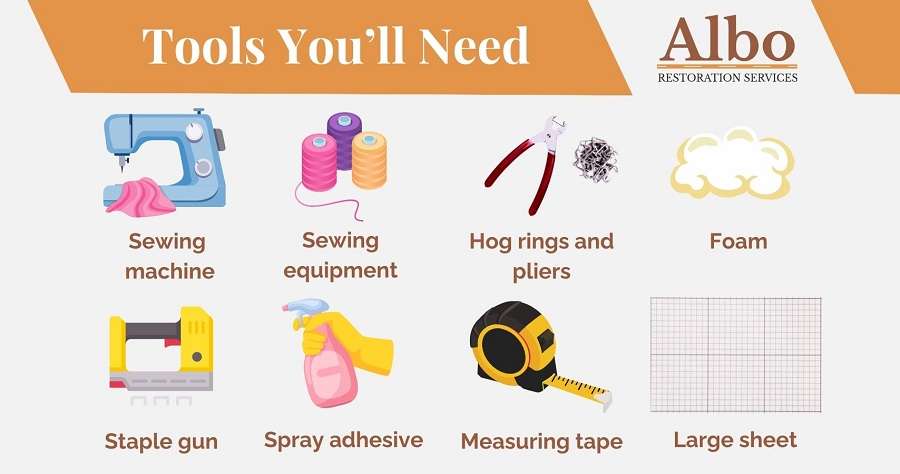
Before you even think about pulling out any seats, you need to assemble the necessary tools and materials․ This preparatory step is crucial for a smooth and efficient reupholstering process․ Here’s a comprehensive list:
- New Upholstery Fabric: Choose a fabric that is durable, stain-resistant, and matches your desired aesthetic․ Consider automotive-grade vinyl, leather, or durable synthetic materials․
- Hog Ring Pliers and Hog Rings: These are essential for securing the new upholstery to the seat frame․
- Screwdrivers and Socket Set: For removing seats and interior panels․
- Pliers and Wire Cutters: For removing old hog rings and manipulating wires․
- Seam Ripper: For carefully removing the old upholstery without damaging the underlying foam․
- Scissors and Utility Knife: For cutting the new fabric․
- Measuring Tape: To accurately measure the existing upholstery panels․
- Marker or Chalk: For tracing patterns onto the new fabric․
- Sewing Machine (Optional): While hand sewing is possible, a sewing machine will significantly speed up the process and create stronger seams․
- Foam Padding (Optional): If the existing foam is worn or damaged, replace it for added comfort and support․
- Spray Adhesive (Optional): For securing fabric to foam․
The Reupholstering Process: A Step-by-Step Guide
Now that you’ve gathered your supplies, it’s time to get to work! This process can be time consuming, so plan accordingly․
1․ Removing the Old Upholstery
Carefully remove the existing upholstery using a seam ripper․ Take your time and avoid tearing the fabric, as you’ll use these pieces as templates․ Document the order in which pieces are removed and take plenty of pictures․
2․ Creating New Patterns
Lay the old upholstery pieces flat on your new fabric and trace around them with a marker or chalk․ Add seam allowances (usually about 1/2 inch) to each piece․ This will make your life easier when it comes to sewing or securing the new material․
3․ Cutting and Sewing (if applicable)
Cut out the new fabric pieces․ If you’re using a sewing machine, sew the pieces together according to the original upholstery design․ For hand sewing, use a strong thread and a tight stitch․
4․ Installing the New Upholstery
Carefully stretch the new upholstery over the seat frame and secure it with hog rings and hog ring pliers․ Work your way around the seat, ensuring a snug and even fit․ If you are replacing the foam padding, now is the time to glue it into place․ Pay close attention to the corners and edges, ensuring they are properly secured․
Tips for a Professional Finish
- Take Your Time: Rushing through the process will likely result in mistakes․
- Practice Makes Perfect: If possible, practice on a scrap piece of fabric before working on the actual upholstery․
- Consult Online Resources: Numerous videos and tutorials are available online to guide you through specific steps․
- Consider Professional Help: If you’re feeling overwhelmed, don’t hesitate to seek help from a professional upholsterer․
The satisfaction of transforming your car’s interior yourself is incredibly rewarding․ With dedication and the right approach, anyone can learn how to effectively **reupholster your car interior**, giving your vehicle a fresh, personalized look that reflects your individual style and enhances your driving experience․
Once you’ve mastered the basics of seat reupholstering, consider tackling other interior elements like door panels, headliners, and consoles․ These smaller projects can further enhance the overall aesthetic of your car’s interior․ Remember to always prioritize safety by disconnecting the battery before working on any electrical components, especially when dealing with seat heaters or airbags․ A little extra caution can prevent serious injury․ When you **reupholster your car interior**, don’t forget about the smaller details like stitching patterns and color accents․ These subtle touches can make a big difference in the final result;
ADDRESSING COMMON REUPHOLSTERING CHALLENGES
Even with meticulous planning, you may encounter some common challenges during the reupholstering process․ Here are a few potential roadblocks and how to overcome them:
WRINKLES AND CREASES
Wrinkles and creases can occur if the fabric isn’t stretched evenly․ Use a heat gun (on a low setting) to gently warm the fabric and help it conform to the seat’s contours․ Be careful not to overheat the fabric, as this could damage it․ Re-stretching and re-securing the fabric may also be necessary․
HOG RING ISSUES
Hog rings can be tricky to work with, especially in tight spaces․ Make sure you have the correct size hog rings and pliers for the job․ Practice using the pliers before you begin, and always wear eye protection to prevent injury from flying hog rings․
FOAM DEGRADATION
If the existing foam is severely degraded, simply covering it with new upholstery won’t solve the problem․ Replace the foam entirely with new automotive-grade foam for optimal comfort and support․ Consider using different densities of foam for different areas of the seat to provide targeted support․
PATTERN MATCHING
If you’re using a patterned fabric, take extra care to match the pattern across seams․ This will create a more professional and cohesive look․ Lay out all the fabric pieces before cutting to ensure the pattern lines up correctly․
MAINTAINING YOUR NEWLY REUPHOLSTERED INTERIOR
Once you’ve completed the reupholstering process, it’s important to properly maintain your new interior to keep it looking its best․ Regular cleaning and care will help prolong the life of your upholstery․
– Vacuum Regularly: Use a vacuum cleaner with an upholstery attachment to remove dust, dirt, and debris from the seats and other upholstered surfaces․
– Spot Clean Stains Immediately: Blot up spills immediately with a clean, absorbent cloth․ Use a mild detergent and water solution to gently clean any remaining stains․ Test the cleaning solution in an inconspicuous area first to ensure it doesn’t damage the fabric․
– Use a Leather Conditioner (if applicable): If you’ve used leather upholstery, apply a leather conditioner regularly to keep it supple and prevent cracking․
– Protect from Sunlight: Park your car in the shade whenever possible to prevent the upholstery from fading or cracking due to sun exposure․ Consider using window tint or seat covers for added protection․
By following these tips and guidelines, you can successfully tackle the task of how to **reupholster your car interior** and enjoy a refreshed and personalized driving experience for years to come․


