Discovering mold in your car can be a nasty surprise. Not only is it unsightly and emits an unpleasant odor, but it can also pose health risks to you and your passengers. Fortunately, with the right tools and techniques, you can effectively remove mold from your car’s interior and prevent it from returning. This guide provides a step-by-step approach to tackling mold growth, ensuring a clean, healthy, and fresh-smelling vehicle.
Understanding Mold in Cars
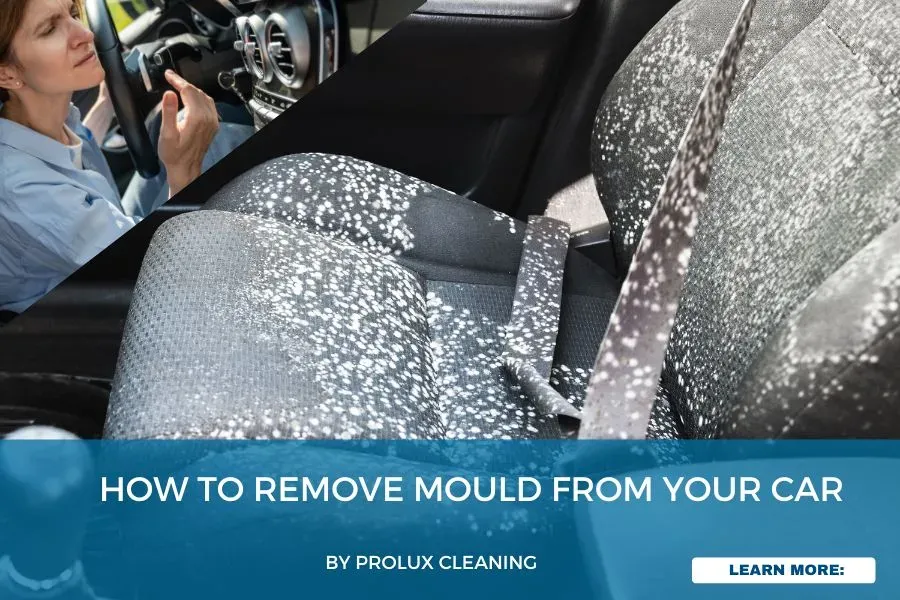
Mold thrives in damp, dark environments, making car interiors a prime breeding ground, especially after leaks, spills, or prolonged exposure to humidity. Identifying the type of mold isn’t crucial for removal, but recognizing its presence is key. Look for:
- Musty or earthy odors
- Visible spots or patches, often white, green, or black
- Areas that feel damp or sticky
Preparation is Key
Before you begin the cleaning process, gather your supplies and take some essential precautions. This will ensure a safer and more effective mold removal process.
- Safety First: Wear a mask, gloves, and eye protection to avoid inhaling mold spores or getting them in contact with your skin.
- Ventilation: Park your car in a well-ventilated area, preferably outdoors, and open all doors and windows.
- Gather Supplies: You’ll need a vacuum cleaner with a hose attachment, a stiff-bristled brush, microfiber cloths, mold-killing solutions (see below), and a bucket of clean water.
Mold Removal Solutions: A Comparison
Several effective mold-killing solutions are available. Here’s a comparison of three popular options:
| Solution | Pros | Cons | Best For |
|---|---|---|---|
| Vinegar (White Distilled) | Natural, readily available, effective on many types of mold, relatively inexpensive. | Strong odor, may not kill all mold spores, can be corrosive on some materials with prolonged exposure. | Light to moderate mold growth on hard surfaces. |
| Baking Soda Solution | Mild, odorless, absorbent, helps deodorize. | Less potent than vinegar or commercial mold killers, requires more scrubbing. | Deodorizing after mold removal, treating delicate surfaces. |
| Commercial Mold & Mildew Remover | Specifically formulated to kill mold and mildew, often contains disinfectants. | Can contain harsh chemicals, may have a strong odor, requires careful handling and ventilation. | Severe mold infestations, persistent mold growth. |
Step-by-Step Mold Removal Process
Step 1: Vacuum Thoroughly
Use the vacuum cleaner with the hose attachment to remove loose mold spores and debris from all surfaces, including seats, carpets, floor mats, and upholstery. Pay close attention to crevices and hard-to-reach areas.
Step 2: Apply Your Chosen Solution
Test your chosen mold-killing solution in an inconspicuous area first to ensure it doesn’t damage the material. Then, apply the solution to the affected areas using a spray bottle or sponge. Allow it to sit for the recommended time (usually 10-15 minutes).
Step 3: Scrub and Wipe
Using a stiff-bristled brush or microfiber cloth, scrub the mold-affected areas to loosen and remove the mold. Wipe away the residue with a clean, damp cloth. Rinse the cloth frequently with clean water.
Step 4: Dry Completely
Thoroughly dry all treated areas to prevent mold from returning. You can use a dry cloth, a hair dryer (on a low setting), or a dehumidifier to speed up the drying process. Leave the car doors and windows open to allow for maximum ventilation.
Step 5: Final Touches
Once everything is dry, vacuum the interior of your car again to remove any remaining mold spores or debris. Consider using an air freshener or odor eliminator to remove any lingering musty smells.
Preventing Future Mold Growth
Preventing mold from returning is just as important as removing it in the first place. Here are some tips to help you keep your car mold-free:
- Address leaks promptly.
- Regularly clean and vacuum your car’s interior.
- Use floor mats to protect carpets from spills and moisture.
- Ensure good ventilation, especially after rain or humid weather.
- Consider using a car dehumidifier in humid climates.


