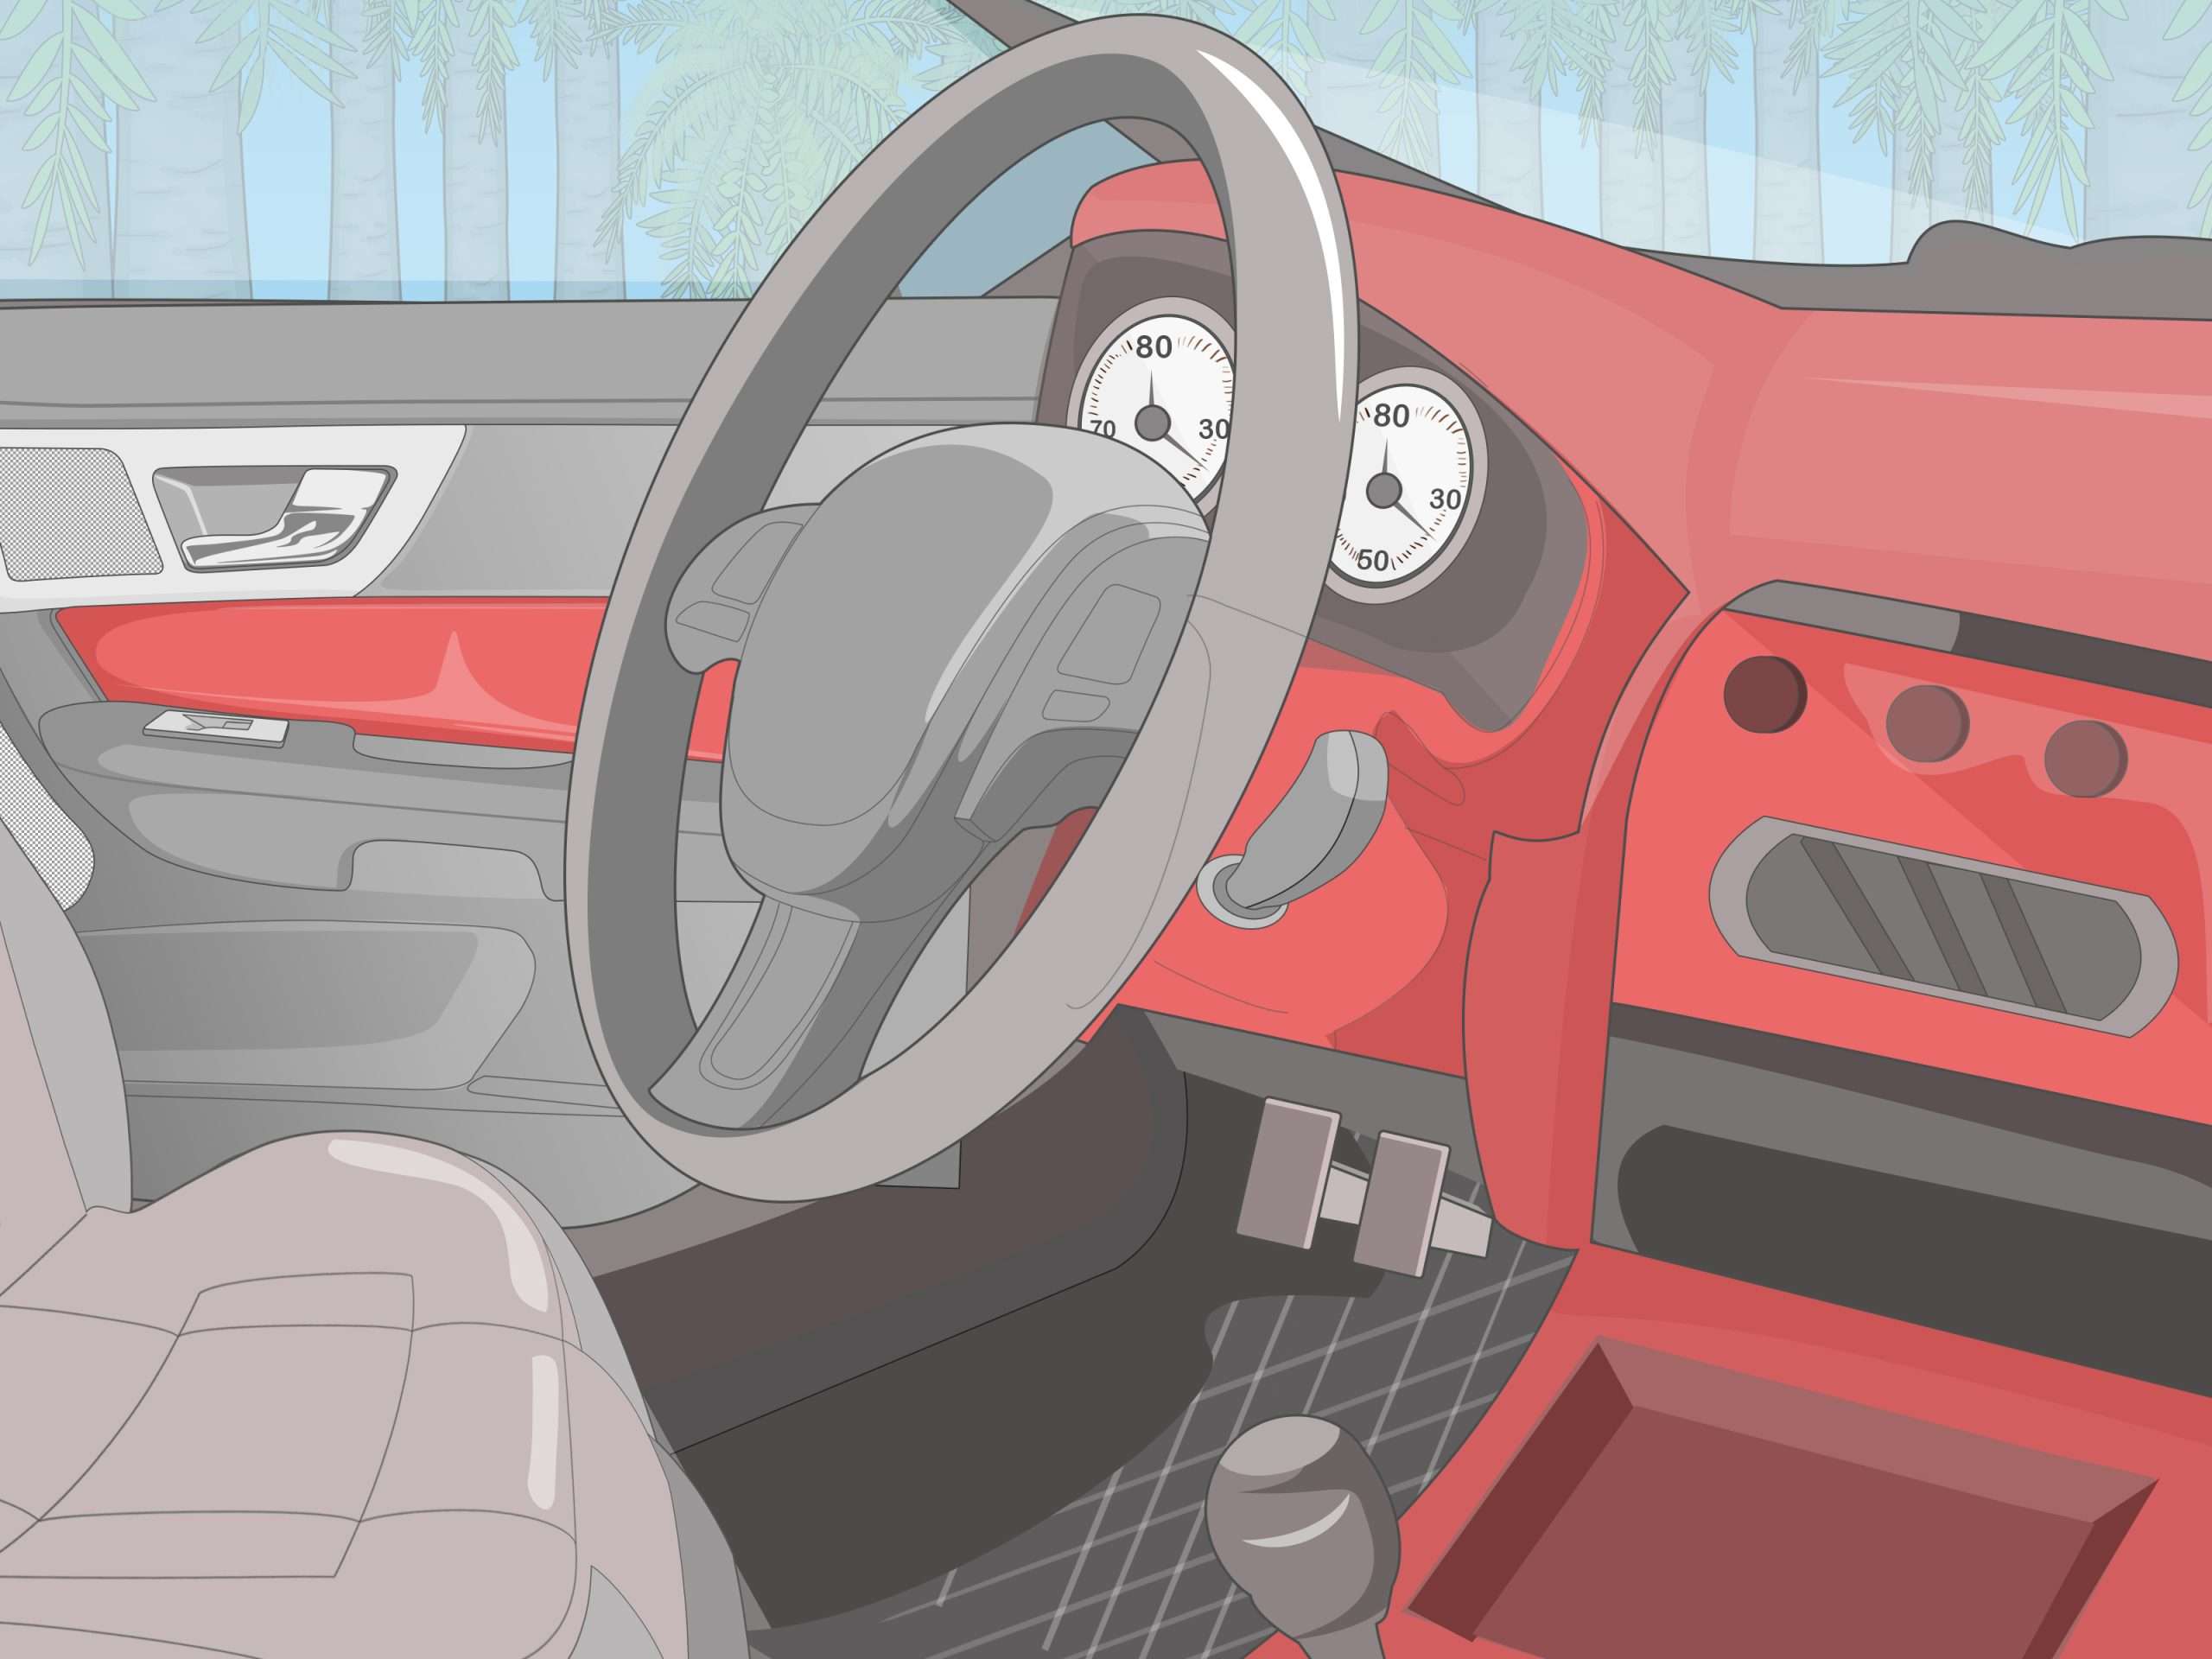
Ever stepped into your car and felt a little…underwhelmed? Maybe it’s that faded, cracked, or just plain boring vinyl interior. You don’t have to live with it! Painting your car’s interior vinyl is a surprisingly straightforward way to breathe new life into your vehicle and make it feel fresh again. It’s a budget-friendly alternative to reupholstering, and with a little patience, you can achieve professional-looking results. So, are you ready to transform your car’s interior? Let’s dive in!
Why Paint Interior Car Vinyl? The Benefits You Need to Know
Why bother painting your car’s interior vinyl in the first place? Well, there are plenty of compelling reasons. Beyond just aesthetics, it can actually protect the vinyl and improve your car’s overall value. Let’s break it down:
- Cost-Effective: Far cheaper than replacing or reupholstering.
- Aesthetic Improvement: Instantly upgrades the look and feel of your car.
- Protection: Paint can seal and protect the vinyl from further damage like cracking and fading.
- Customization: Choose any color to match your personal style;
- Increased Resale Value: A well-maintained interior can boost your car’s value.
Pro Tip: Always test your paint in an inconspicuous area first to ensure proper adhesion and color match. You don’t want any surprises!
Choosing the Right Paint for Interior Car Vinyl
Not all paints are created equal, especially when it comes to vinyl. You need a flexible paint specifically designed for vinyl and plastic. Why? Because regular paint will crack and peel as the vinyl expands and contracts with temperature changes. Look for:
- Vinyl-Specific Paint: Formulated to adhere to and flex with vinyl.
- Acrylic Lacquer: A good option for its durability and finish.
- Adhesion Promoter: Consider using this as a base coat for better paint adhesion.
Don’t skimp on quality here! A few extra dollars spent on the right paint will save you headaches (and potentially more money) down the road.
Step-by-Step Guide: Painting Your Car’s Interior Vinyl
Alright, let’s get down to the nitty-gritty. Here’s a step-by-step guide to painting your car’s interior vinyl like a pro. Remember to take your time and be meticulous for the best results.
Preparation is Key: Cleaning and Masking the Interior Car Vinyl
This is arguably the most important step. A clean surface is essential for proper paint adhesion. Here’s what you need to do:
- Clean Thoroughly: Use a vinyl cleaner or a mild soap and water solution to remove all dirt, grease, and grime.
- Scrub Gently: Use a soft brush or sponge to scrub the vinyl, paying attention to textured areas.
- Rinse Well: Make sure to remove all traces of the cleaner.
- Dry Completely: Allow the vinyl to air dry or use a clean, lint-free cloth.
- Masking: Use painter’s tape and paper or plastic sheeting to protect any areas you don’t want to paint (windows, trim, etc.).
Applying the Paint to Interior Car Vinyl: Techniques and Tips
Now for the fun part! Here’s how to apply the paint for a smooth, even finish:
- Apply Adhesion Promoter (Optional): If using, apply a thin, even coat of adhesion promoter and let it dry according to the manufacturer’s instructions.
- Apply Thin Coats: Apply several thin coats of paint rather than one thick coat; This will prevent drips and runs.
- Use Proper Technique: Hold the spray can about 8-10 inches from the surface and use a smooth, even sweeping motion.
- Allow Drying Time: Let each coat dry completely before applying the next. Check the paint manufacturer’s instructions for drying times;
- Inspect and Touch Up: Once the final coat is dry, inspect the surface for any imperfections and touch them up as needed.
Interesting Fact: Did you know that the temperature and humidity can affect paint drying times? Ideal conditions are typically around 70°F (21°C) with low humidity.
Troubleshooting Common Issues When Painting Interior Car Vinyl
Even with the best preparation, things can sometimes go wrong. Here are some common issues and how to fix them:
- Paint Peeling: Usually caused by poor surface preparation. Sand the affected area, clean it thoroughly, and repaint.
- Drips and Runs: Caused by applying too much paint at once. Sand the affected area smooth and repaint in thin coats.
- Uneven Color: Caused by inconsistent application. Apply additional coats to even out the color.
- Orange Peel Texture: Can be caused by spraying too far away or using the wrong nozzle. Adjust your technique and consider using a different nozzle.
Maintaining Your Newly Painted Interior Car Vinyl
Once you’ve painted your car’s interior vinyl, you’ll want to keep it looking its best. Here are a few tips:
- Clean Regularly: Use a mild vinyl cleaner to remove dirt and grime.
- Avoid Harsh Chemicals: Don’t use harsh chemicals or abrasive cleaners, as they can damage the paint.
- Protect from Sunlight: Park in the shade or use a sunshade to protect the vinyl from fading.
FAQ: Painting Interior Car Vinyl
Can I paint any type of vinyl in my car?
While most interior car vinyl can be painted, it’s always best to test a small, inconspicuous area first to ensure proper adhesion and color match.
How long does it take to paint car interior vinyl?
The time it takes depends on the size and complexity of the area you’re painting, as well as the number of coats required. Plan for at least a full day to allow for proper preparation, painting, and drying.
What tools do I need to paint car interior vinyl?
You’ll need: vinyl cleaner, sandpaper (optional), painter’s tape, masking paper or plastic sheeting, vinyl-specific paint, an adhesion promoter (optional), and a spray gun or aerosol can.
Is it better to spray paint or brush paint car interior vinyl?
Spray painting generally provides a smoother, more even finish on vinyl. Brushing can leave brush strokes, but it can be suitable for small touch-ups.
So, there you have it! Painting your car’s interior vinyl is a rewarding project that can dramatically improve the look and feel of your vehicle. With a little preparation, the right materials, and a bit of patience, you can achieve professional-looking results. Don’t be afraid to experiment and personalize your ride. Imagine stepping into a car that reflects your style and personality. Now that’s a feeling worth investing in. Go ahead, give your car the makeover it deserves!


