Upgrading your car’s interior lighting can significantly enhance its ambiance and functionality. From providing better visibility in low-light conditions to creating a personalized and stylish environment, adding or replacing interior lights is a popular modification. This guide will walk you through the process, offering tips and considerations to ensure a successful and safe installation. Before you begin, it’s crucial to understand the different types of lights available and the potential challenges you might encounter. Let’s illuminate the path to a brighter and more comfortable driving experience!
Selecting the appropriate type of interior car lights is paramount to achieving your desired effect. Several options are available, each with its own set of advantages and disadvantages.
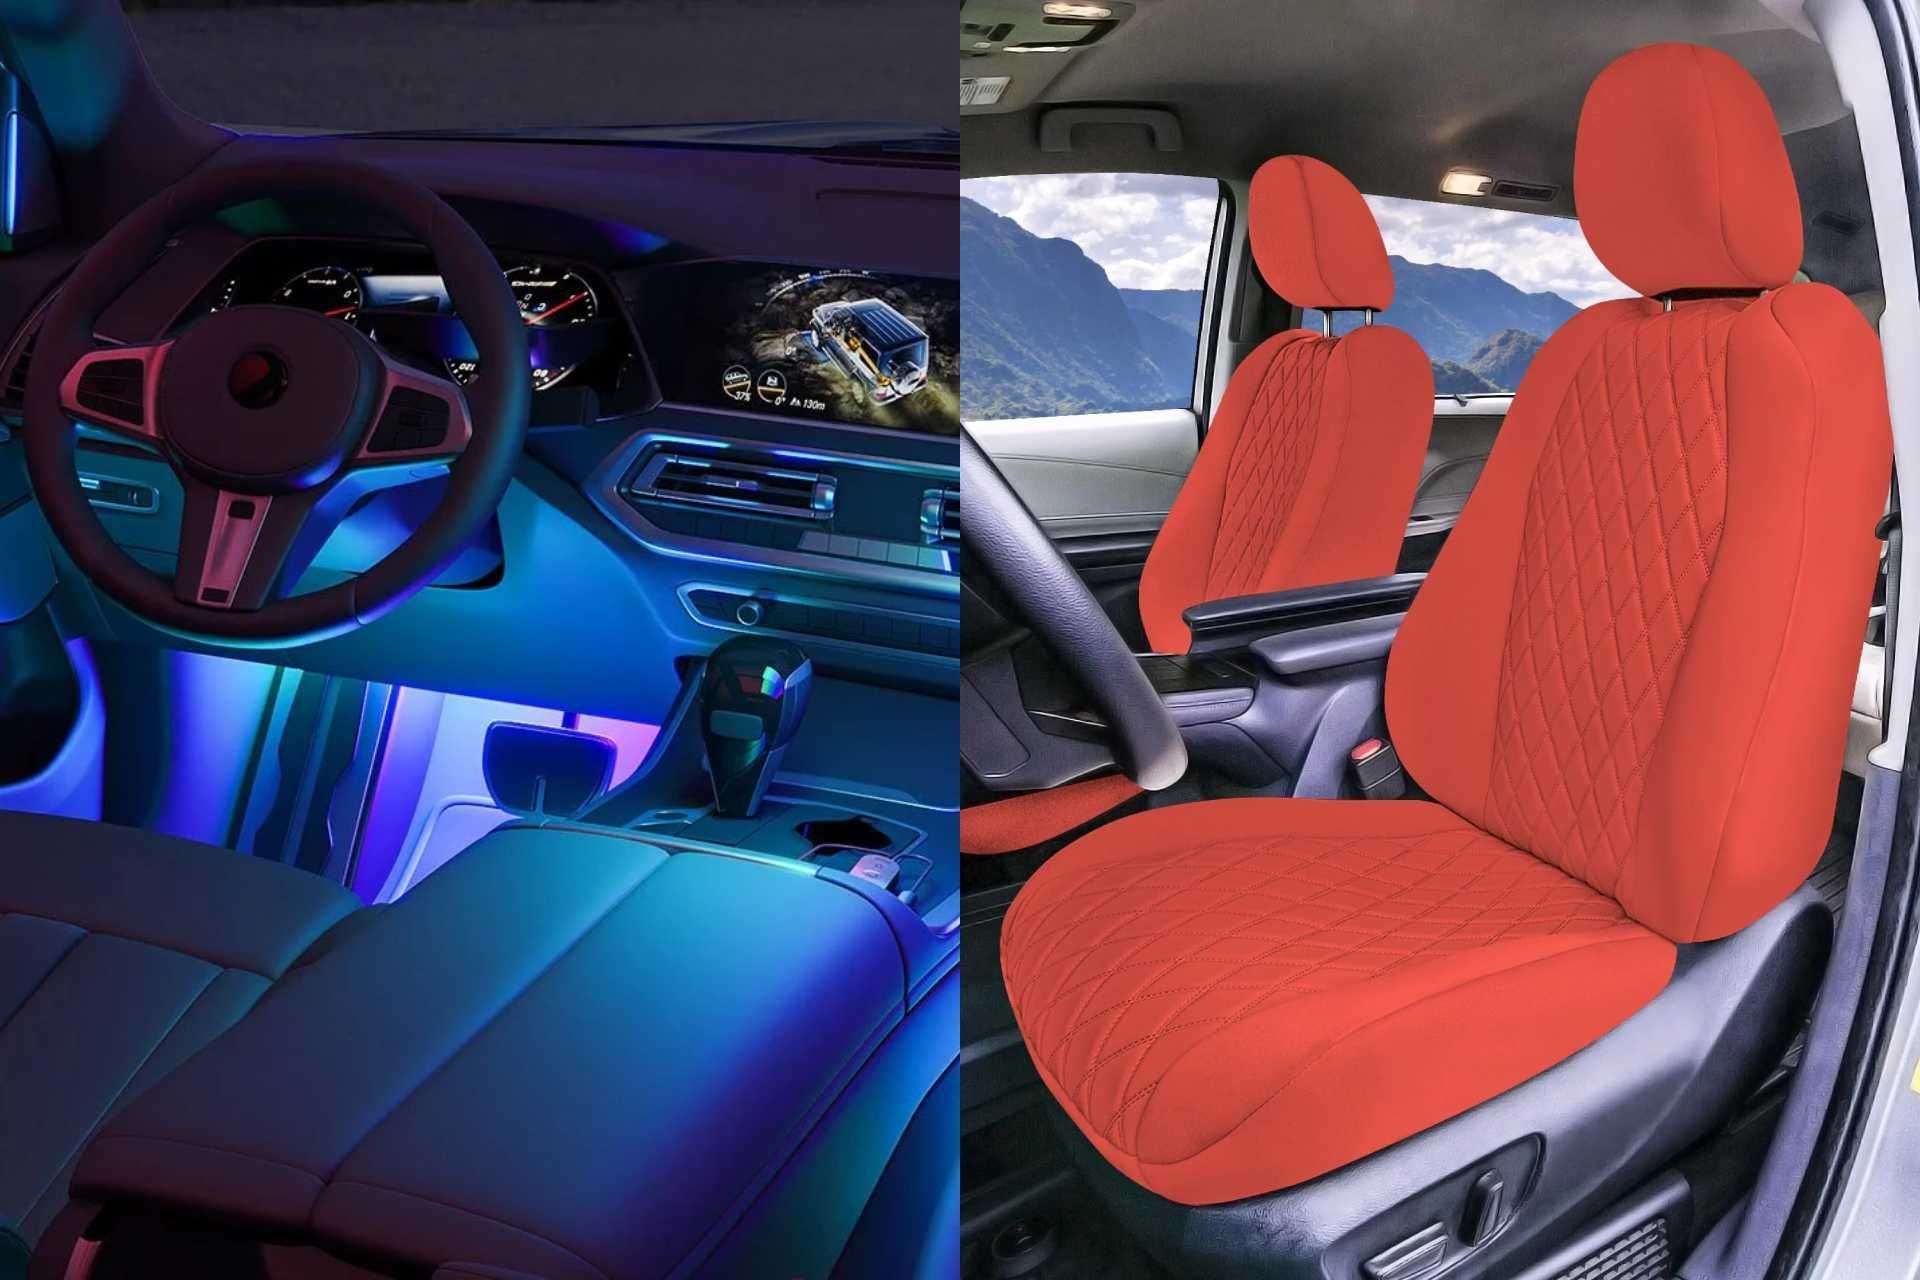
- LED Lights: Energy-efficient, long-lasting, and available in a wide range of colors.
- Halogen Lights: Brighter than traditional incandescent bulbs but generate more heat.
- Incandescent Lights: The standard type of bulb, typically the least expensive but also the least efficient.
- Fiber Optic Lights: Offer a unique, dispersed lighting effect, often used for accent lighting.
Before diving into the installation process, proper preparation is key. Safety should always be your top priority.
- Gather Your Tools: You’ll likely need screwdrivers, wire strippers, pliers, a multimeter, and electrical tape.
- Disconnect the Battery: This is crucial to prevent electrical shock and damage to your car’s electrical system.
- Read the Instructions: Carefully review the instructions provided with your new lights.
- Test the Lights: Before permanently installing, test the lights to ensure they function correctly.
While the specific installation process will vary depending on the type of lights and your car’s make and model, here’s a general overview:
- Remove Existing Lights (If Applicable): Carefully remove any existing interior lights, taking note of the wiring connections.
- Connect the New Lights: Connect the new lights to the appropriate wiring harness. Ensure proper polarity (positive to positive, negative to negative).
- Secure the Lights: Secure the lights in their designated locations using screws, clips, or adhesive.
- Test the Lights: Reconnect the battery and test the new lights to ensure they are functioning correctly.
- Reassemble the Interior: Reassemble any interior panels or trim that were removed during the installation process.
| Feature | LED | Halogen | Incandescent |
|---|---|---|---|
| Energy Efficiency | High | Medium | Low |
| Lifespan | Very Long | Medium | Short |
| Brightness | Variable (Can be very bright) | Bright | Moderate |
| Heat Generation | Low | Medium | High |
| Cost | Higher Initial Cost | Moderate | Low |
| Color Options | Wide Range | Limited | Limited |
Sometimes, things don’t go as planned. Here are some common issues and how to address them:
- Lights Don’t Turn On: Check the wiring connections, fuses, and the bulb itself.
- Lights Flicker: This could be due to loose wiring or a faulty bulb.
- Fuse Blows: This indicates a short circuit. Check the wiring for any damage or exposed wires.
Installing interior car lights can be a rewarding DIY project that enhances both the aesthetics and functionality of your vehicle. By carefully planning, following safety precautions, and choosing the right type of lights, you can create a customized interior that reflects your personal style and improves your driving experience. Remember to consult your car’s owner’s manual and seek professional help if you’re unsure about any aspect of the installation process. Happy lighting!
Upgrading your car’s interior lighting can significantly enhance its ambiance and functionality. From providing better visibility in low-light conditions to creating a personalized and stylish environment, adding or replacing interior lights is a popular modification. This guide will walk you through the process, offering tips and considerations to ensure a successful and safe installation. Before you begin, it’s crucial to understand the different types of lights available and the potential challenges you might encounter. Let’s illuminate the path to a brighter and more comfortable driving experience!
Choosing the Right Interior Car Lights
Selecting the appropriate type of interior car lights is paramount to achieving your desired effect. Several options are available, each with its own set of advantages and disadvantages.
Types of Interior Car Lights
- LED Lights: Energy-efficient, long-lasting, and available in a wide range of colors.
- Halogen Lights: Brighter than traditional incandescent bulbs but generate more heat.
- Incandescent Lights: The standard type of bulb, typically the least expensive but also the least efficient.
- Fiber Optic Lights: Offer a unique, dispersed lighting effect, often used for accent lighting.
Preparation and Safety Precautions
Before diving into the installation process, proper preparation is key. Safety should always be your top priority.
- Gather Your Tools: You’ll likely need screwdrivers, wire strippers, pliers, a multimeter, and electrical tape.
- Disconnect the Battery: This is crucial to prevent electrical shock and damage to your car’s electrical system.
- Read the Instructions: Carefully review the instructions provided with your new lights.
- Test the Lights: Before permanently installing, test the lights to ensure they function correctly.
Installation Process: A Step-by-Step Guide
While the specific installation process will vary depending on the type of lights and your car’s make and model, here’s a general overview:
- Remove Existing Lights (If Applicable): Carefully remove any existing interior lights, taking note of the wiring connections.
- Connect the New Lights: Connect the new lights to the appropriate wiring harness. Ensure proper polarity (positive to positive, negative to negative).
- Secure the Lights: Secure the lights in their designated locations using screws, clips, or adhesive.
- Test the Lights: Reconnect the battery and test the new lights to ensure they are functioning correctly.
- Reassemble the Interior: Reassemble any interior panels or trim that were removed during the installation process.
Comparative Table: LED vs. Halogen vs. Incandescent
| Feature | LED | Halogen | Incandescent |
|---|---|---|---|
| Energy Efficiency | High | Medium | Low |
| Lifespan | Very Long | Medium | Short |
| Brightness | Variable (Can be very bright) | Bright | Moderate |
| Heat Generation | Low | Medium | High |
| Cost | Higher Initial Cost | Moderate | Low |
| Color Options | Wide Range | Limited | Limited |
Troubleshooting Common Issues
Sometimes, things don’t go as planned. Here are some common issues and how to address them:
- Lights Don’t Turn On: Check the wiring connections, fuses, and the bulb itself.
- Lights Flicker: This could be due to loose wiring or a faulty bulb.
- Fuse Blows: This indicates a short circuit. Check the wiring for any damage or exposed wires.
Installing interior car lights can be a rewarding DIY project that enhances both the aesthetics and functionality of your vehicle. By carefully planning, following safety precautions, and choosing the right type of lights, you can create a customized interior that reflects your personal style and improves your driving experience. Remember to consult your car’s owner’s manual and seek professional help if you’re unsure about any aspect of the installation process. Happy lighting!
Advanced Considerations for Interior Lighting Projects
Beyond the basic installation, several advanced techniques and considerations can further refine your interior lighting project. These techniques often involve more complex wiring and require a deeper understanding of automotive electrical systems. Proceed with caution and, when in doubt, consult a qualified automotive electrician.
Implementing Dimming Circuits
The incorporation of dimming circuits allows for precise control over the intensity of the interior lights. This feature is particularly useful for creating a more relaxed ambiance during nighttime driving and can also reduce glare. Dimming can be achieved through several methods:
- Pulse Width Modulation (PWM): A highly efficient method where the brightness is controlled by rapidly switching the light on and off, varying the ratio of on-time to off-time.
- Rheostat: A variable resistor that allows for manual adjustment of the current flow, thereby controlling the brightness. While simple, rheostats can generate heat and are less efficient than PWM.
- Dedicated Dimming Modules: These modules offer advanced features such as preset brightness levels and remote control capabilities.
Integrating with Existing Vehicle Systems
For a seamless and professional installation, consider integrating the new interior lights with existing vehicle systems. This may involve connecting the lights to the dome light circuit, allowing them to activate when the doors are opened, or wiring them to the instrument panel dimmer switch. Such integration requires careful analysis of the vehicle’s wiring diagrams and adherence to proper wiring techniques to avoid damaging the existing electrical system.
Addressing CAN Bus Systems
Modern vehicles increasingly rely on Controller Area Network (CAN) bus systems for communication between electronic components. Adding aftermarket lighting to a CAN bus system can be challenging, as it may trigger error codes or interfere with the operation of other systems. In such cases, specialized CAN bus interfaces may be required to ensure proper integration and prevent conflicts.
Selecting Appropriate Wire Gauges and Connectors
Choosing the correct wire gauge is crucial for ensuring the safe and reliable operation of the interior lights. The wire gauge should be sufficient to handle the current draw of the lights without overheating. Consult a wire gauge chart to determine the appropriate size based on the amperage and wire length. Furthermore, use high-quality connectors that are specifically designed for automotive applications to ensure secure and corrosion-resistant connections.
Considerations for Ambient Lighting
Ambient lighting aims to create a subtle and aesthetically pleasing glow within the vehicle’s interior. This can be achieved through the strategic placement of low-intensity LED strips in areas such as the footwells, dashboard, and door panels. Careful consideration should be given to the color temperature and intensity of the ambient lighting to avoid distracting the driver or creating excessive glare.
Legal Compliance
It is imperative to ensure that any modifications to the vehicle’s lighting system comply with all applicable local and national regulations; Some jurisdictions may have restrictions on the color, intensity, and placement of interior lights. Consult with your local Department of Motor Vehicles or a qualified automotive technician to ensure compliance before proceeding with the installation.
Professional Consultation
For complex installations or if you lack experience with automotive electrical systems, it is highly recommended to seek professional assistance. A qualified automotive electrician can ensure that the installation is performed safely and correctly, minimizing the risk of damage to your vehicle or personal injury. Their expertise can be invaluable in addressing potential challenges and achieving a professional-quality result;


